The hose keeps getting pushed out of the tool when I tighten down the press screw.
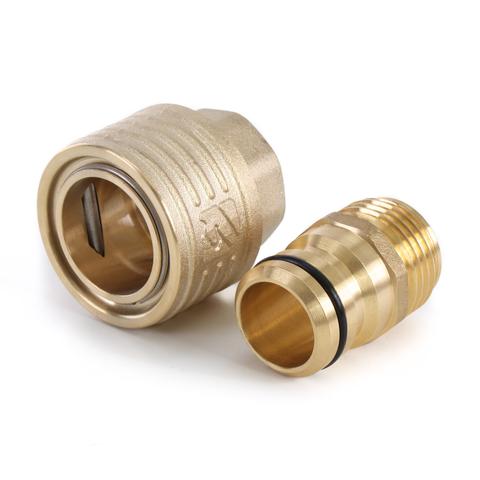
It may be useful to try pre-installing the hose, collar, pushrod and fitting prior to installation in the press tool. Make certain there is plenty of liquid soap lubrication on the inside of the hose, outside of the push rod and fitting barbs. This technique is especially helpful for non ELEY hose. We want to make certain the hose barb is started into the hose properly, otherwise the barb may push on the end of the hose and push the hose out of the tool.
One of the "tabs" has broken off the repair tool.
Please submit a Warranty Claim Form. Please make sure to take a picture of the broken tab next to the repair tool and upload it to the form prior to submitting it.
The repair fitting won't insert fully into my hose. Should I heat the hose?
DO NOT heat the hose. Instead, preassemble the push rod, fitting and lubricate both with liquid soap, dish soap may be best if hand soap is too diluted with water. Place the collar on the hose and place the push rod and fitting in the end of the hose. Then place this preassembled assembly into the press.
The two halves of the tool don't tighten together properly.
More than likely, you're inserting the screws directly into the embedded brass nuts, rather than into the recessed holes on the opposite tool half. The round of the screw should nest into the recessed hole, pass through both halves of the tool and then engage with the threads of the embedded brass nuts in the opposing half of the repair tool. Closely review the printed instruction sheets and these photos.


Still need assistance? Email Us

